

 In this blog post I will present you to a simple no-soldering way to add jumper strips to you dc motors.
This method can be used when you just want to try out a new idea or if you are a beginner with no soldering iron.
For more permanent connections, soldering could however be required.
What you need: 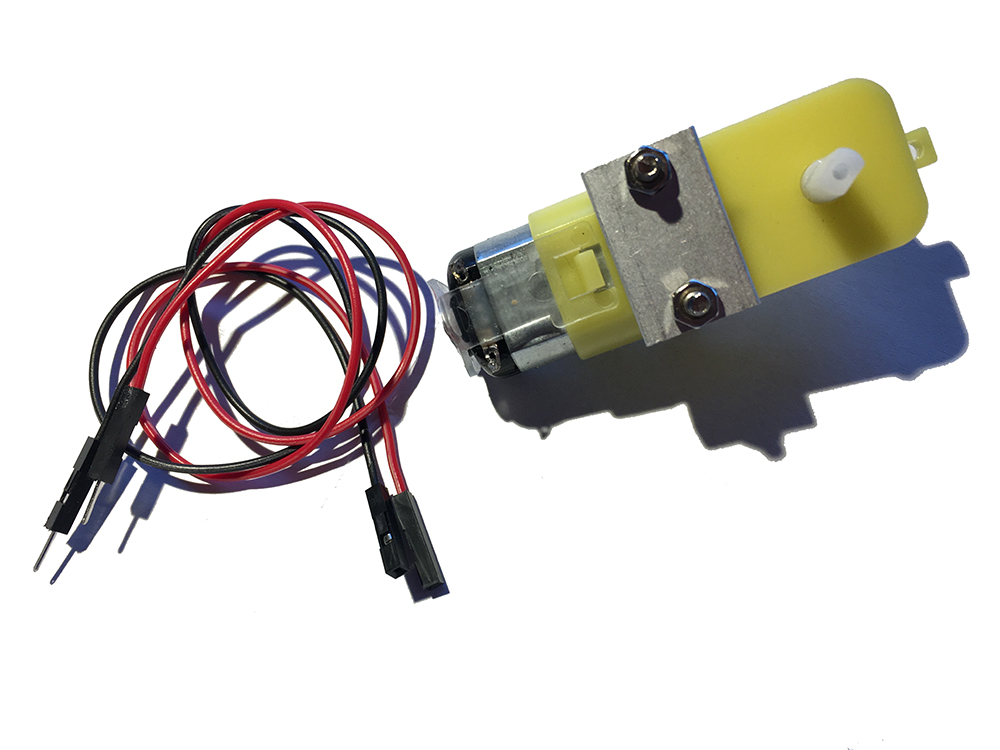
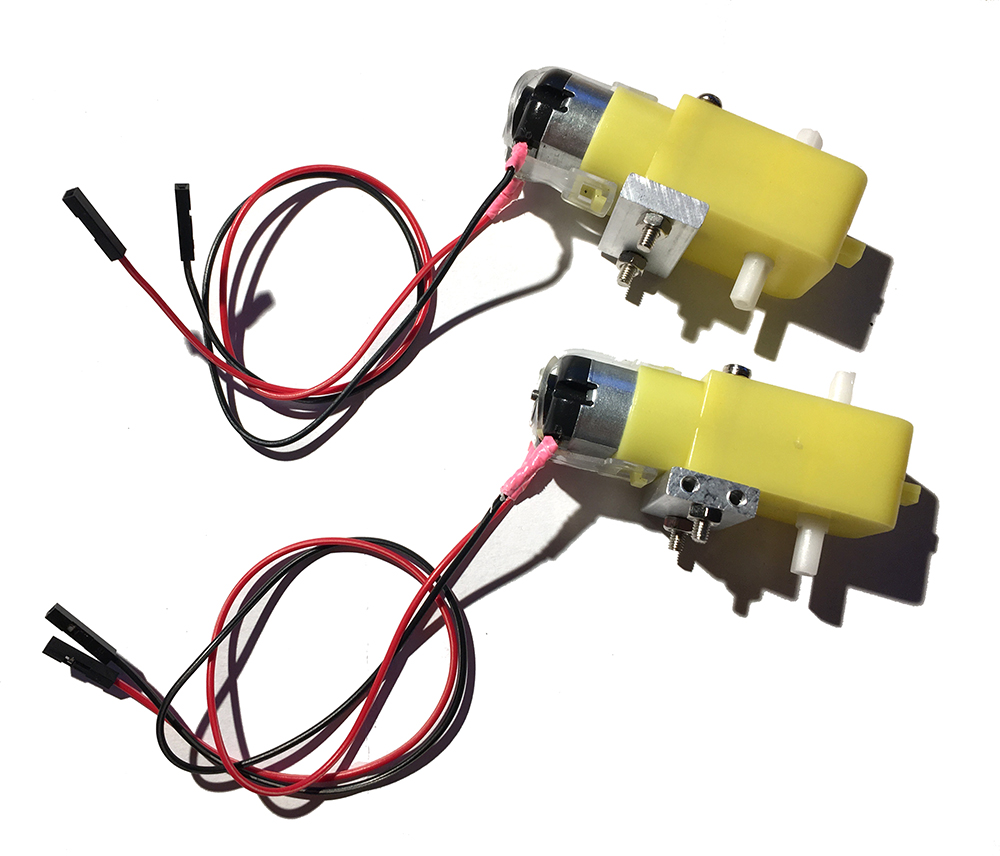
- dc motor: the motor you want to connect to your project
- 2 x jumper wires: make sure one of the ends (male/female) fits to where the motor should be connected later
- Gaffa tape
- Wire cutters
Step 1: Strip off insulation
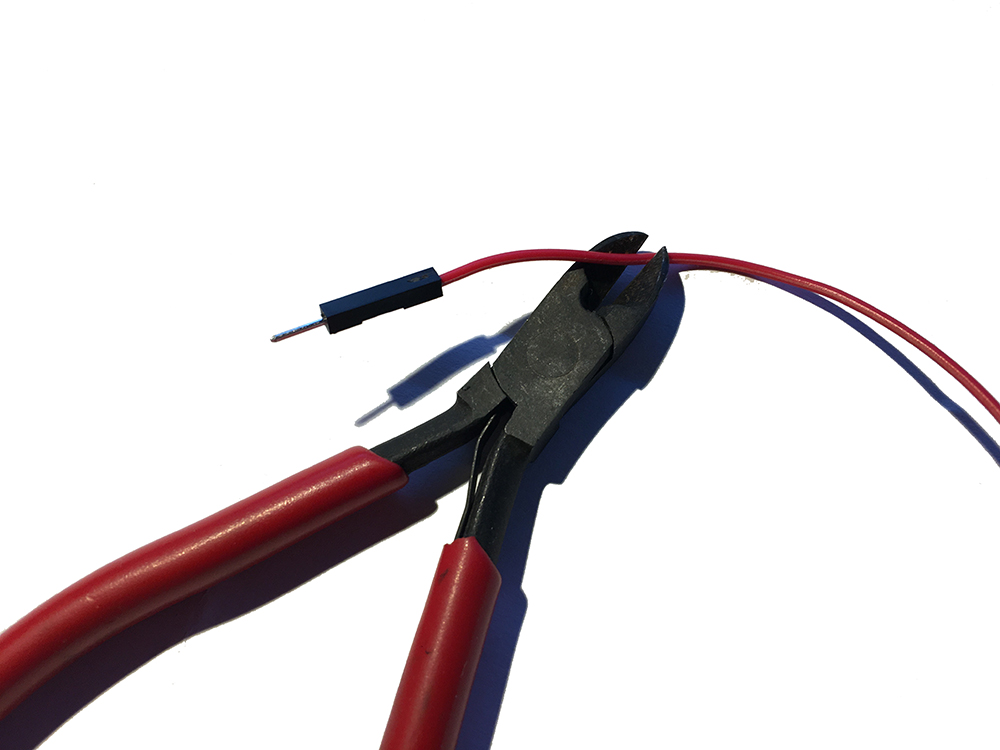
First we have to clip off one of the ends of the wire. Make sure that you clip off the right head, and not the one you need later to connect the motor to your project!
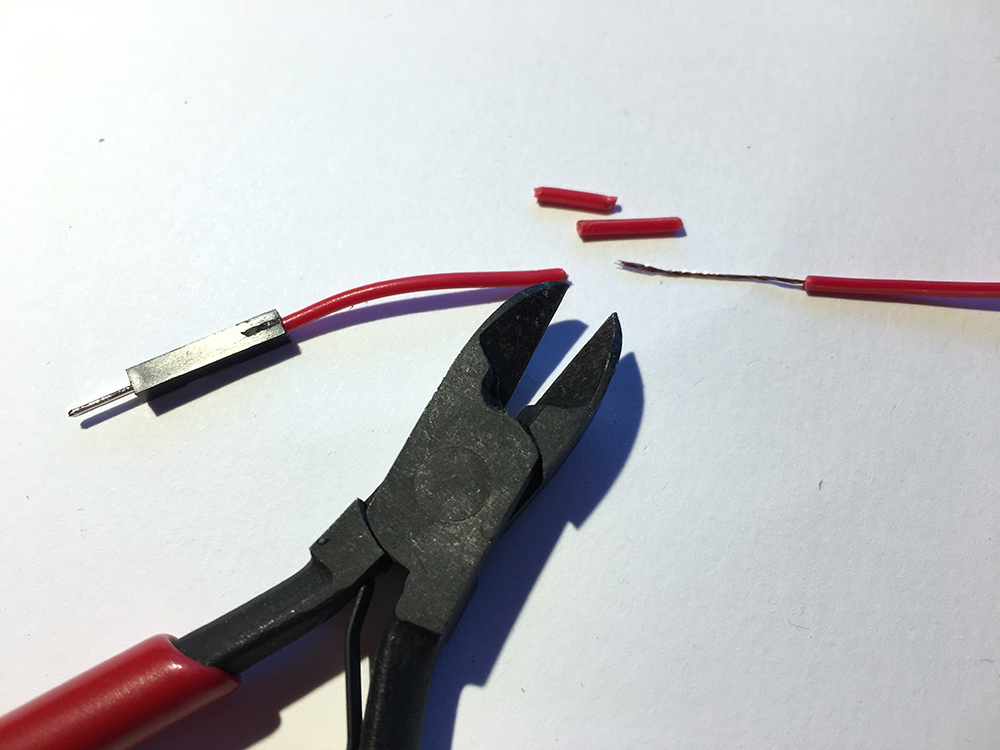
After removing the end, strip off 2-3 cm insulation.
The wire is now ready to be attached to the dc motor.
Step 2: Attach wire to motor

Insert wire through hole at motor.
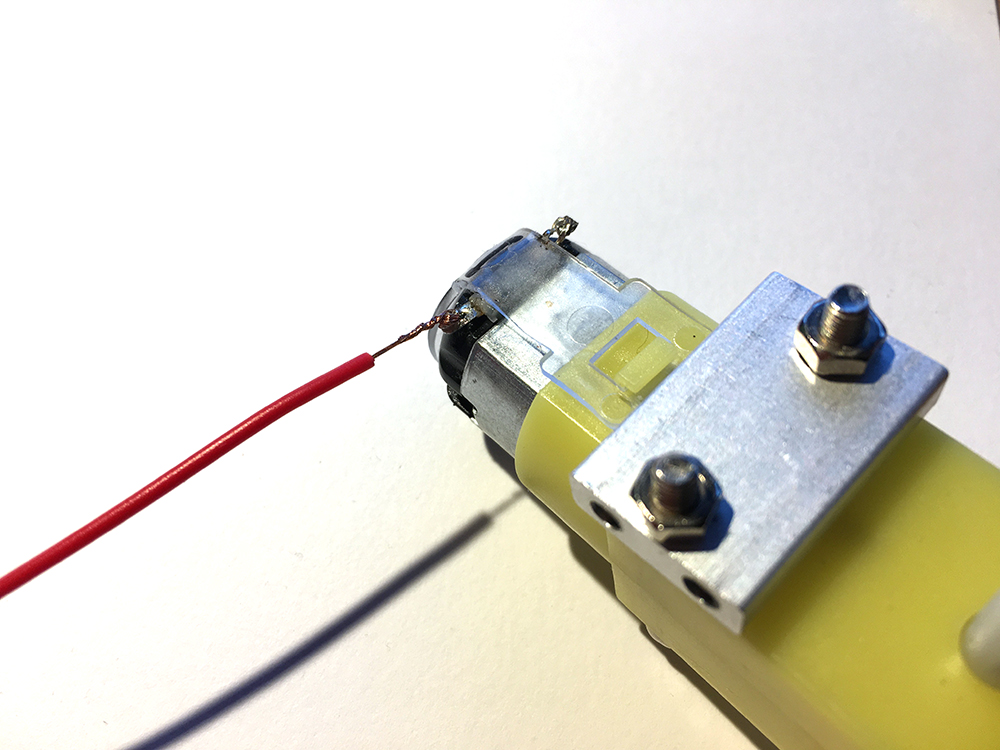
Fold the wire back onto itself and twist it together.
Be careful with this part. The metal connectors on the motors can be quite fragile, so don’t move then around to much.

Add a small piece of gaffe tape to strengthen the connection.
Repeat step 1-2 for the second wire.
Tips and tricks
Congratulations you have now added jumper wires to your dc motor!
Using this method you can now connect your motor to a male/female header on your project.
Remember that the connectors on the motor can be fragile, so you should be careful not to pull to much in the wires after they have been connected. You could also tape the wire to the side of the motor to decrease the chance of pulling off the metal connectors.