
Hi and welcome to this new tutorial series, where I will show you how to make a 2D ARPG in Godot 4.
I’m currently making this tutorial in Godot 4, beta 10. But I will try to update any changes that might occur, if or when new releases come out while I’m working on this series.
This first part will consist of four parts.
- Setting up a new project
- Creating the player
- Adding a sprite to the player
- Setting the size of the window and testing our scene
Please remember that this is in no way the only way to create an action RPG in Godot. In most cases there will be several ways to implement a new feature. This is how I would do it. But I will also try to reflect on the choices made during this series. Why we make them, and what alternatives we could have explored further.
This tutorial is also available as a video
Setting up a new project
We will start by creating a new project in Godot 4, beta 10. If you haven’t already downloaded Godot, you can find all version of Godot 4 her.
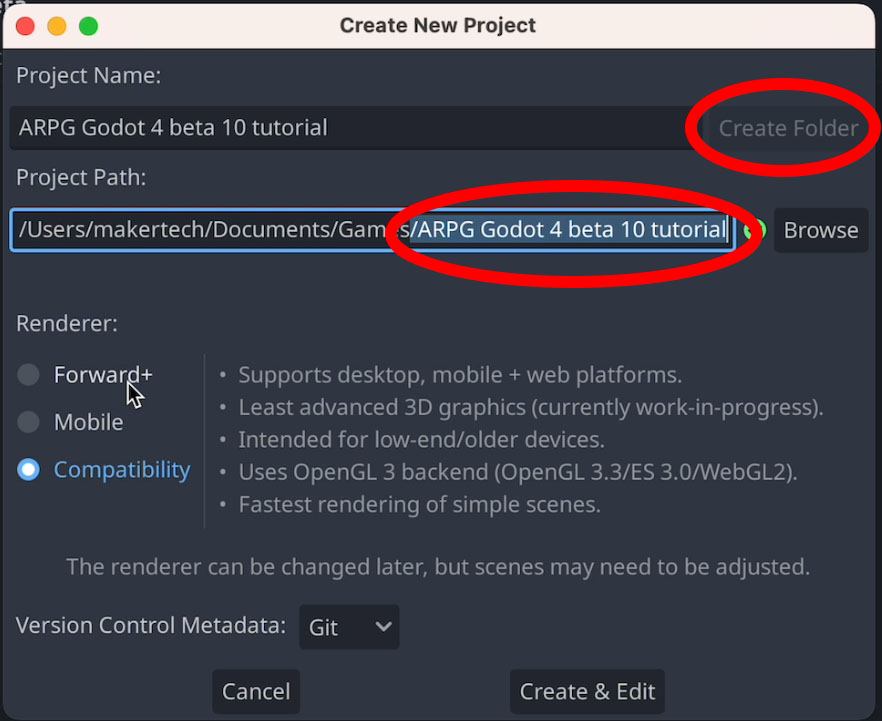
I’m calling my new project “ARPG Godot 4 beta 10 tutorial”. But feel free to call it something simpler if you like.
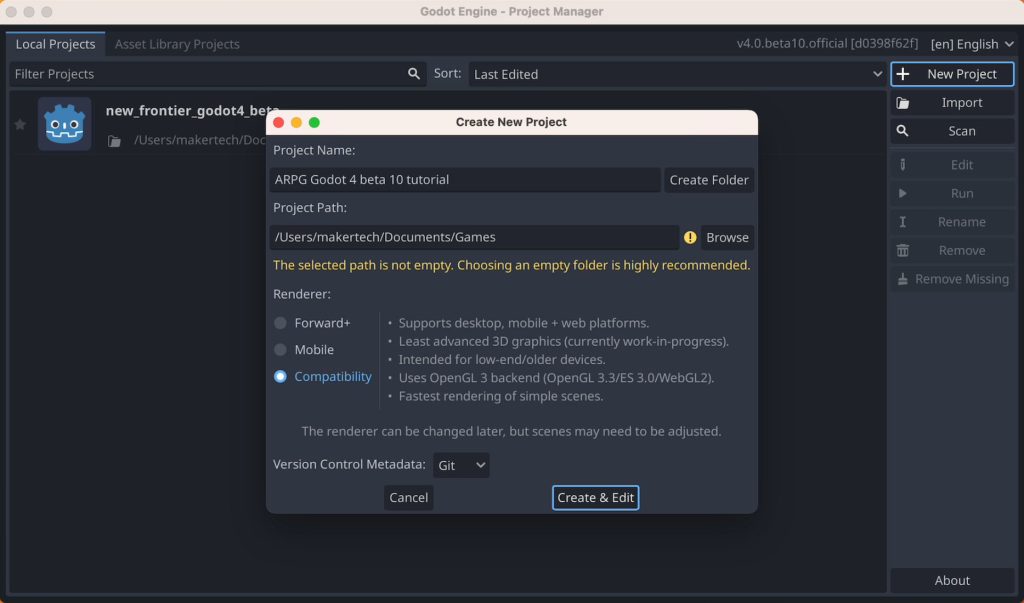
For the project path I just select the folder where I usually keep most of my game development projects. We can then press “Create folder” next to the project name and Godot will create a new folder for our project in the previous selected folder.
We have three renderers to choose from. Forward+, Mobile and Compatibility.
I will be using really simple pixel art for this project, and do not plan to use any advanced graphics features. So for now just select the Compatibility renderer.
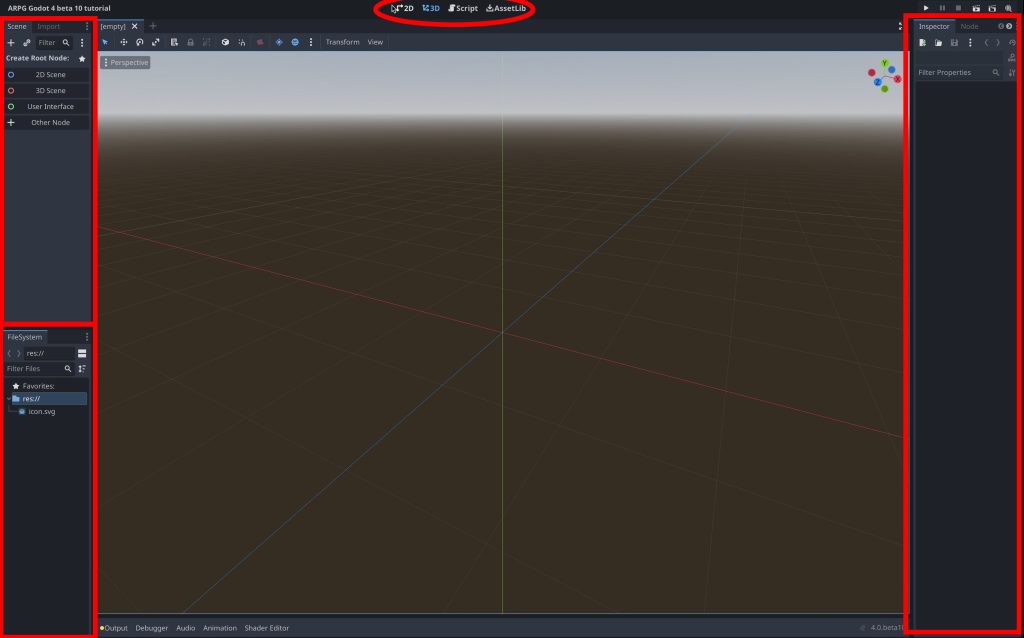
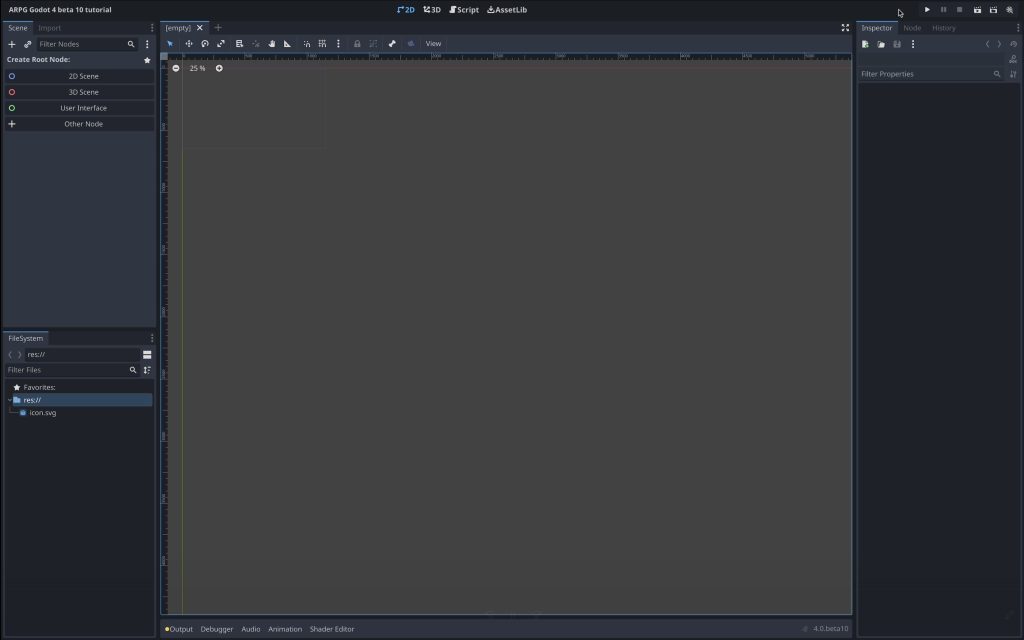
When your project is created your screen should look something like in the picture below.
In the middle of the top you find what I call the view menu. Here you can change between what should be shown in the big center part of the screen.
The default view when you start a new project is the 3D view. The two views we will be using in this tutorial is the 2D view and the Script view.
On the right we have the Inspector Menu. And right next to where it says ‘Inspector’ is a tab for the Node Menu.
At the top left is the Scene Menu and at the bottom left is the FileSystem Menu.
I will be refering to each of these menus often during this tutorial, to make it easier for you to know where to find the things we are working on.
And now lets select the 2D view from the view menu.
Creating the player
Now that we have create our new project, it is time to create our player.
In Godot we do not only use scenes for our actual game scenes or levels. We can also create the objects that occur in our game as their own scenes.
This can make it easier to create and test each individual object.
When creating our player we then start by making a scene for it. Because the player is the first thing we are working on, we can just make the currently opend scene our player scene.
Now we should define what to root node of our player scene should be. We want the player to be a physics body so that we can move it around while detecting collision easily later on.
To create a physics body node we click “Other Node” in the Scene Menu, search for “character” and create a new CharacterBody2D Node.
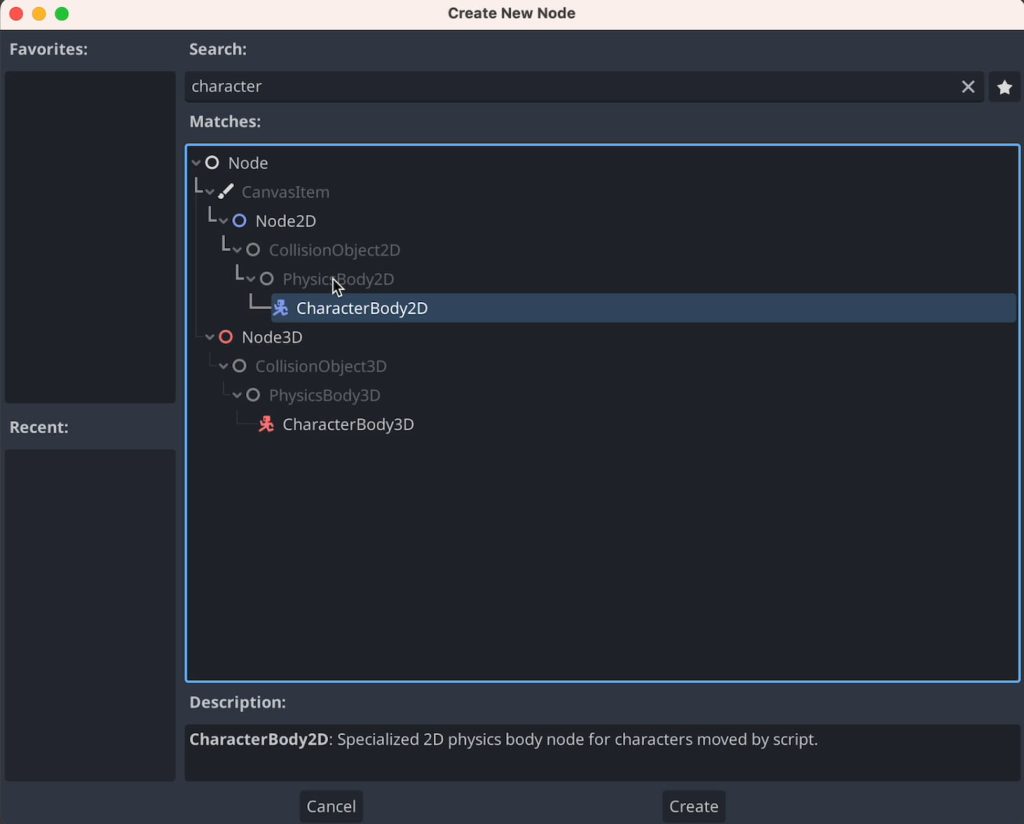
Godot 4 actually has four types of PhysicsBody2D nodes to choose from. StaticBody2D, AnimatableBody2D, CharacterBody2D and RigidBody2D.
CharacterBody2D is the one we usually choose for our player, if when we want to control the movement ourselves from a script.
If you want to know more about the other types of physics bodies, you can take a look at the physics introduction in the latest Godot documentation here.
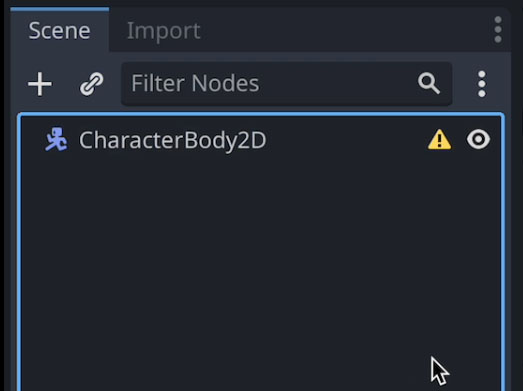
A new CharacterBody2D node has now been created and added as the root node of our scene. The yellow warning triangle to the right tells us, that this node is missing something before it works properly.
For this type of node this has to do with collisions which we will come back to in the next tutorial in this series. So for now we will just igore the warning.
It is a good idea to rename the root node of a scene. The name of the root is also the default name that the scene will get when we instance it into another scene later.
Right-click on the CharacterBody2D node and select rename to give it a new name. I will just mine “Player”.
Now it is time to save our player scene. We can do this with CTRL/Cmd + s as usual. I create a new folder for our player by pressing “Create Folder” in the top right of the menu and then just hit save to save the player scene in the new folder.
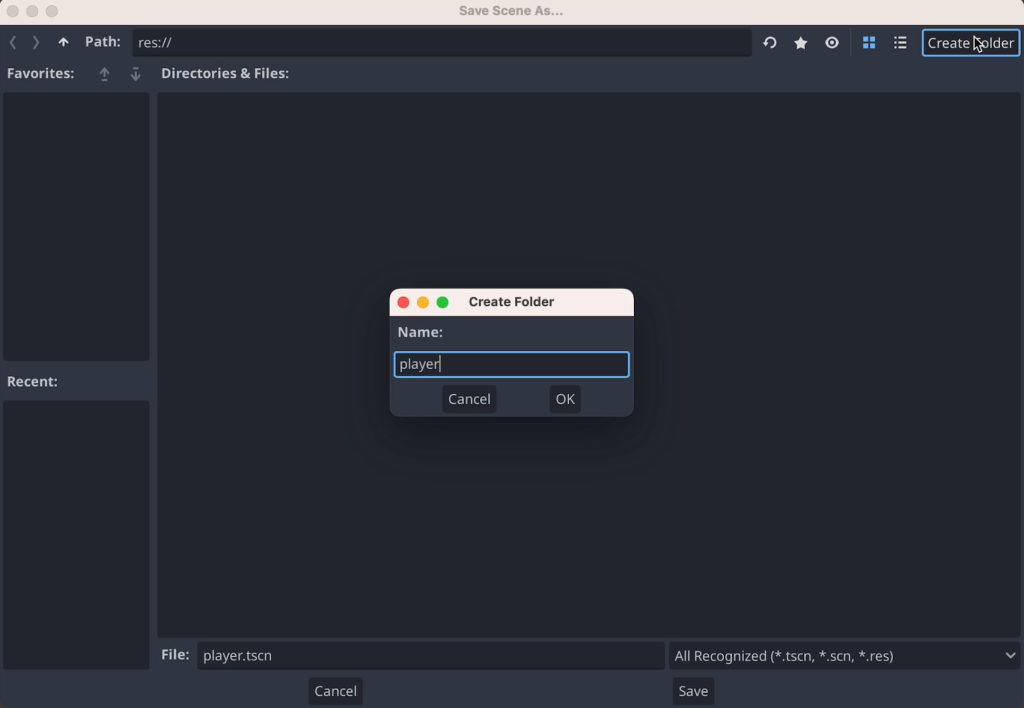
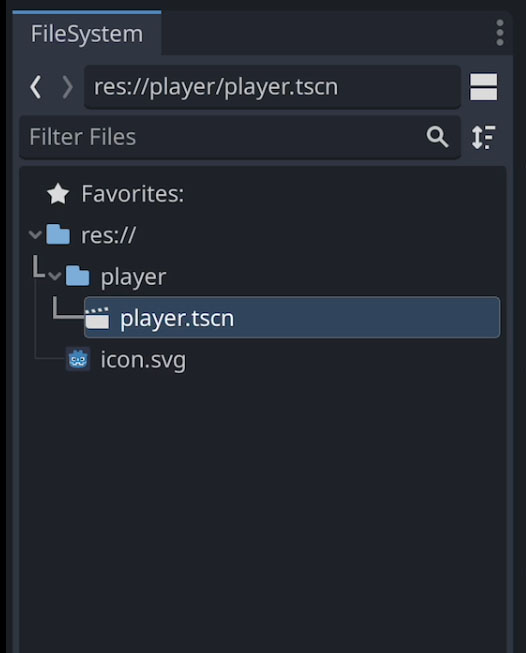
If we look down in our FileSystem Menu we can now see that our new folder has been added and our player scene is saved with the “.tscn” extension.
Adding a sprite to the player
Before we can move or animate the player, we need to add a sprite to it, so we can actually see it on the screen.
To do this we want to add a Sprite node to our player root.
Right-click the player root, select “Add Child Node” search for “Sprite” and create a new Sprite2D node.
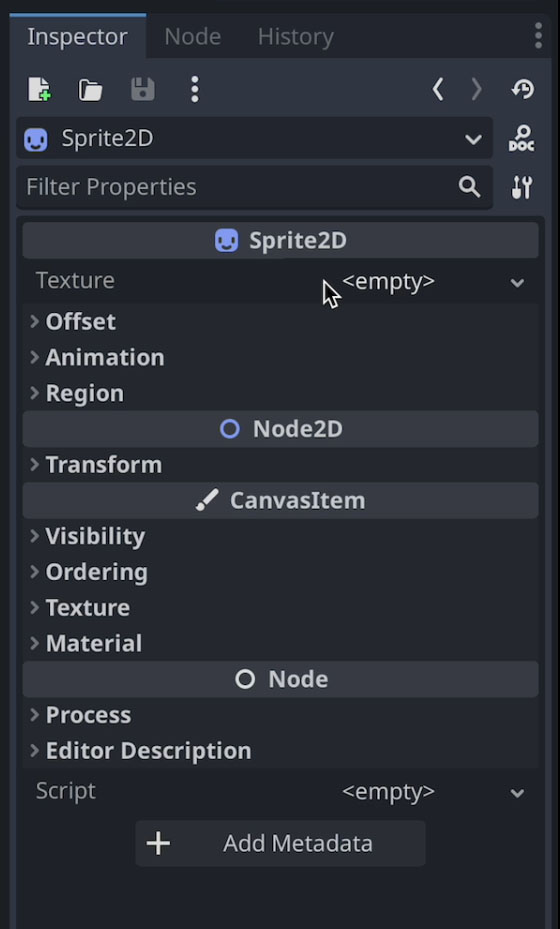
Now click on the new Sprite2D node and look at the Inspector Menu in the right of the screen. The Sprite2D node has a texture property that is currently empty.
To create our sprite we need a texture with the art we want to use for our player.
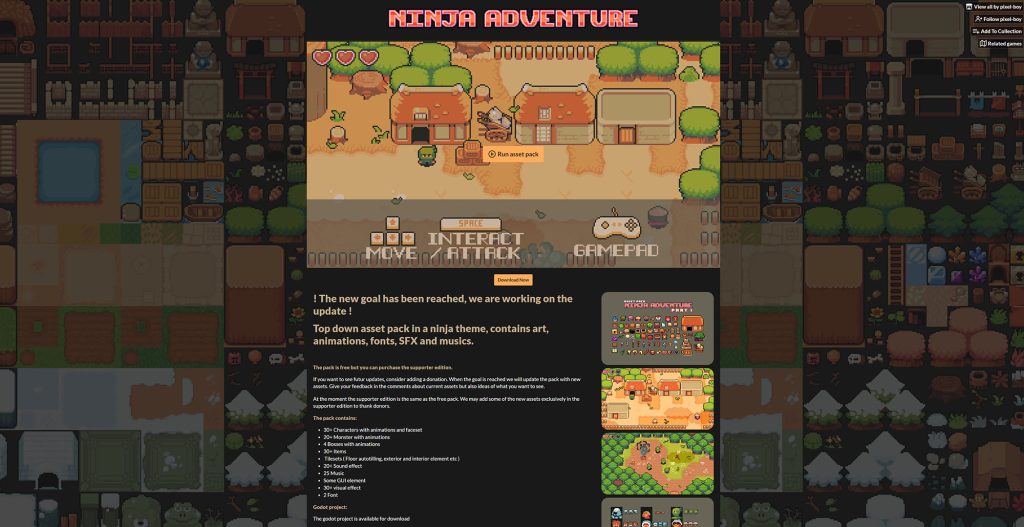
For this tutorial I will be using the “Ninja Adventure” asset pack from Pixel-Boy and AAA.
The asset pack includes both tilesets, animated characters and monste, sound effects, music and really everything we need to start learning how to make an action RPG in Godot.
You can find the assets here in Itch.io.
I create a new folder in our Godot project for our art by right-clicking on the “res://” folder in the FileSystem Menu and then choose “New Folder…”.
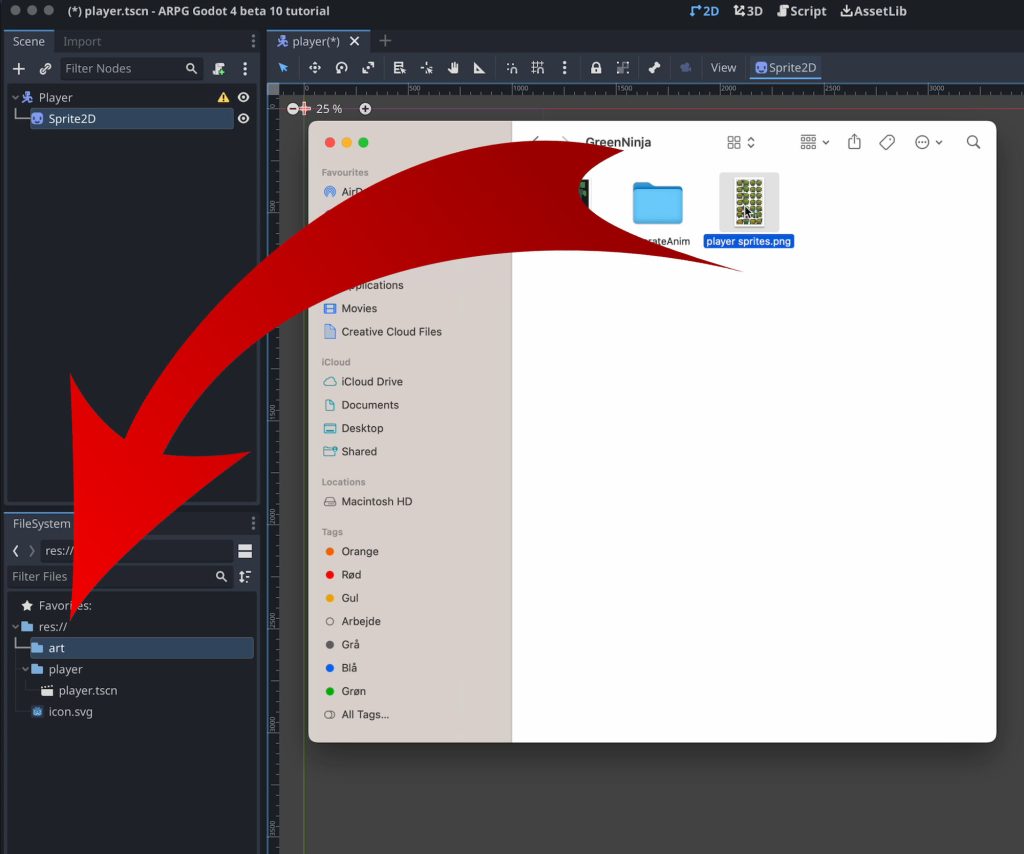
We can now add art to our project by clicking and dragging the art into this folder.
For our player I will be using the Green Ninja sprites which is found in the NinjaAdventure\Actor\Characters\GreenNinja folder. For convenience I rename the spritesheet to “player sprites” before clicking and dragging it into our new art folder in Godot.
Next we need to add the newly imported spritesheet to our Sprite2D node.
To do this we find the spritesheet in our FileSystem Menu, click on the Sprite2D node and the click and drag the spritesheet into the empty texture in the Inspector Menu.
We can zoom in on the view in the middle of the screen by using the top left zoom tools.
If we zoom in we can now see, that the whole spritesheet has been added as our player sprite.
You might also notice, that the pixelart looks really blurry at the moment. This is caused by the default filter being applied to new textures.
We can change the filter directly on the sprite, but since all art on our player is going to be pixelart, it can be better to change the filter on the player root note instead.
All child nodes will then inheirit the filter settings unless we manually change it on the child nodes.
To change the filter settings on our player root we first select the root node. We then go down to the CanvasItem settings in the Inspector Menu. Find where it says “Texture”.
Currently the Filter settings under CanvasItem->Texture is set to inheirit. We change this be pressing on the down arrow to the right and select Nearest.
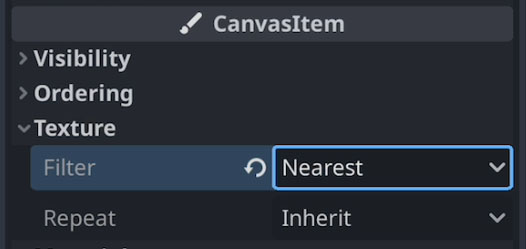
The Nearest filter is what we generally use when working with pixelart. If you want to learn more about the other filter options for textures, you can take a look in the documentation here.
Finally we need to divide our spritesheet into frames and select which one we want to start with.
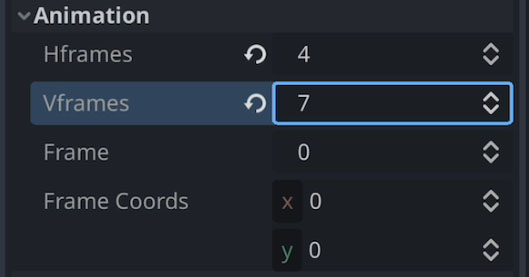
Select the Sprite2D node and find the Animation settings in the Inspector Menu. Here we can specify how many collumns and rows of sprites, or frames, is in our spritesheet.
The Green Ninja spritesheet has four collumns and seven rows of frames. We input this in the Hframes and Vframes properties.
And now our sprite is ready. Use can select which frame to use using the Frame or Frame Coords properties.
In this tutorial we are using the Animation settings to seperate our sprites and select the one we will be using. This enable us to easily use the whole spritesheet for animations later on.
We could also have enabled and used the Region settings to select which part of the spritesheet to use. But this is usually used for more static sprites.
If you want to learn more about the Sprite2D Node, you can look in the latest Godot documentation here.
Setting the size of the window and testing our scene
Now it is time to test our player scene for the first time.
To test just the current scene we can use the “Run Current Scene” button in the top right corner of the screen.

However, when we test our player scene now, we do not really see anything on the screen. Or actually we do.
The player is just really tiny and centered at the top left corner of the test screen.
This i because we have not defined what size our viewport should be.
To do this we need to go into the Project Settings. Click “Project” in the top left menu and then “Project Settings…”.
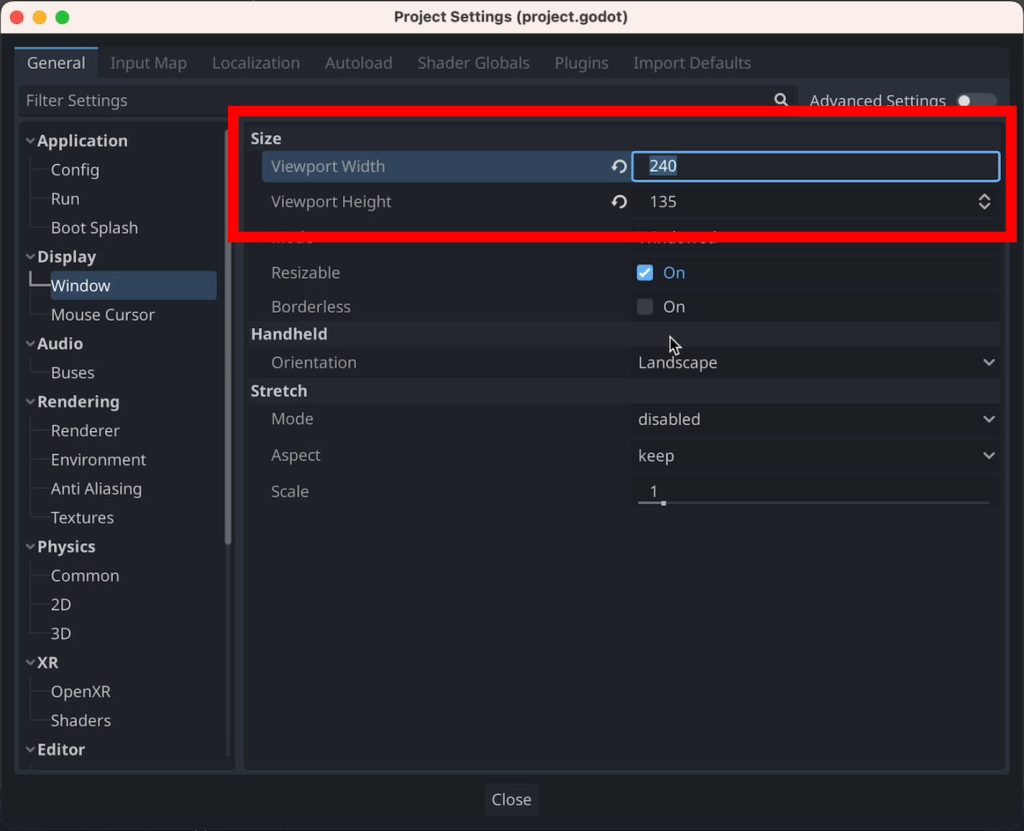
Locate the Window settings and select the Display menu.
Here we can set the width and height we want for our viewport. This will be the size of our game screen in pixels.
If you run the current scene now, the screen will be really tiny. And when we rescale the window size manually our game will not scale with it.
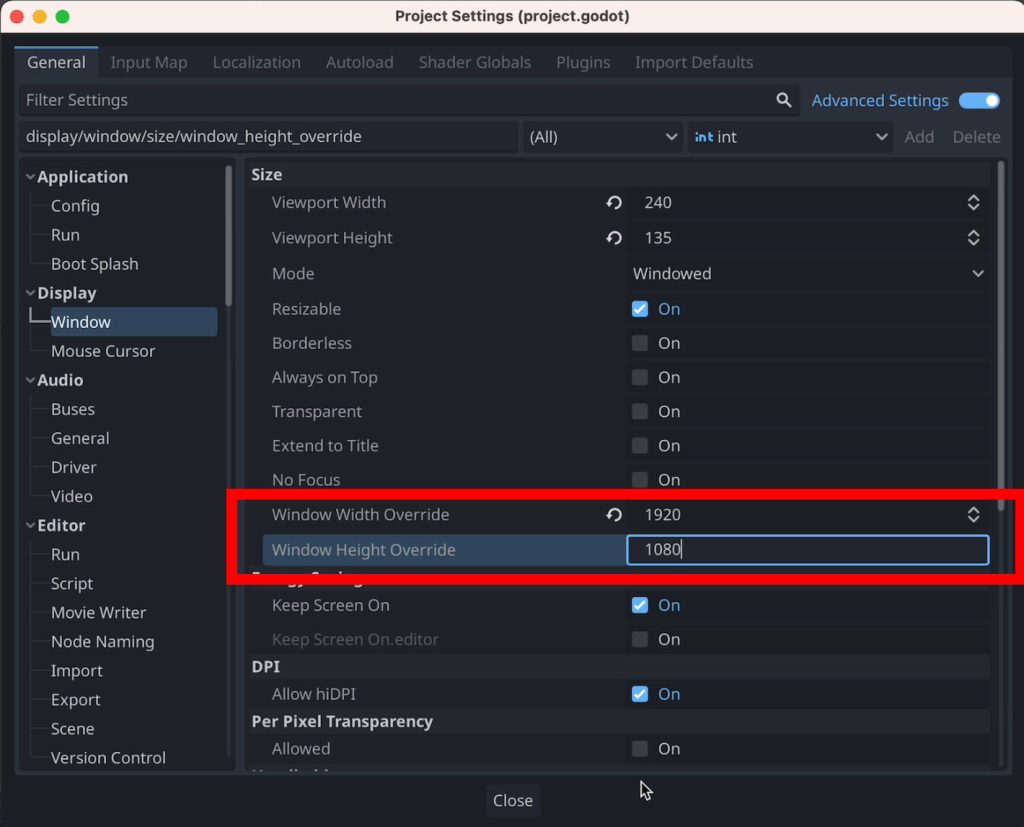
To change this we need to first to go back into the Window settings in the Project Settings and enable Advanced settings. You can do this in the top right part of the settings menu.
Now we can set the Window Width Override and Window Height Override properties. I am using 1920 by 1080 but you can use other sizes as well.
Just make sure that the override width and height are a multiple of the viewport width and height.
Finally we want to specify what happens when the game screen is resized.
Scroll down to the bottom of the Window settings. Here you will find the Stretch settings.
For this tutorial we will set the Stretch Mode to canvas_item and the Aspect to keep.
For some pixelart games the Stretch Mode “viewport” might be a better choice. But for this game the “viewport” mode could make the movements look not as smooth as we want them to.

If we run the current scene now we can see that the window size is what we set the Window Override size to. But our games size is what we set the viewport size to.
We can now clearly see the player sprite. But it is still centered in the top left corner of the screen.
You can try to move the sprite by clicking and dragging it around in Godot. But be sure to reset it to center around (0,0). This will be important when we add it player to another scene later on.
Next time
And that is all for this first episode.
Next time we will look at how we can move and animate the player.
If you liked this post and want more updates on what I do, please consider following my on social media. Links are in the top of my blog.